
Processing camera trap images using Windows batch files
In this post, I explain how to use Windows batch files to perform several useful operations on camera trap images - for example adding a prefix to, removing a suffix from, or copying a list of multiple camera trap images.
Introduction
When working with hundreds of thousands of camera trap images, even simple things like renaming images can suddenly become a daunting task!
I encounter these situations pretty often during my research, so I make use of Windows batch files to deal with large numbers of images at once. In this post, I share how to do this.
Please note that this will only work if you’re on Windows!
VERY IMPORTANT NOTE
Always work on a copy of your data. Never alter the original images, and keep the originals in a safe place away from where you are working, so that you have a backup in case things go wrong.
The code in this post worked for me, but I cannot guarantee that it will work for you - use it at your own risk. I always recommend testing batch files on a small subset of your images first, to confirm that the result is what you expected.
Adding a common prefix
When camera trap images come off the SD card, they usually have generic file names like IMG_0001.jpg. I often want to rename the images to something more useful by including the camera trap’s site ID in the filename, for instance Site_18_part2_IMG_0001.jpg
To do this, I use this code:
FOR /f "delims=" %%F IN ('DIR /a-d /b *.jpg')  DO (
RENAME "%%F" "Site_18_part2_%%F")
This will append all of our images with the prefix Site_18_part2_. To change this prefix just alter the second line of code, making sure to keep the %%F bit.
To make this run, we have to create a .bat file in the folder which contains the camera trap images. This file is going to rename every .jpg in the folder by adding the site prefix, so make sure that you move any images you don’t want renamed to a separate folder!
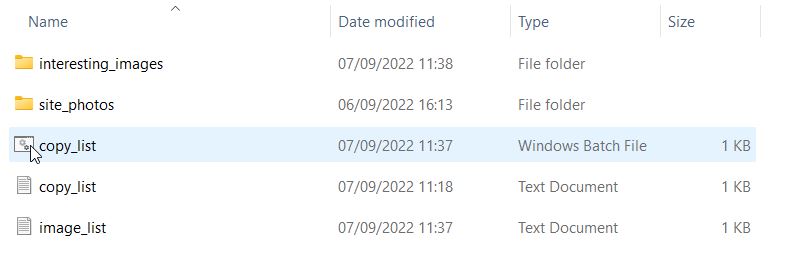
The first step is to create a .txt file in our folder. To do this, right click > New > Text Document. Name it something sensible - apparently it is important to avoid calling your batch file the same thing as other common batch files which may exist on your computer. In this example I’ve called my file prefix_camera_images.bat
We then paste the code above into this .txt file, and save it.
We then need to turn our .txt file into a batch file. We can do this by using save as - we need to select “All files” in the drop-down menu, and type .bat at the end of the file name:

Then we save the file. You’ll see that the batch file has now appeared in the folder with our camera trap images:
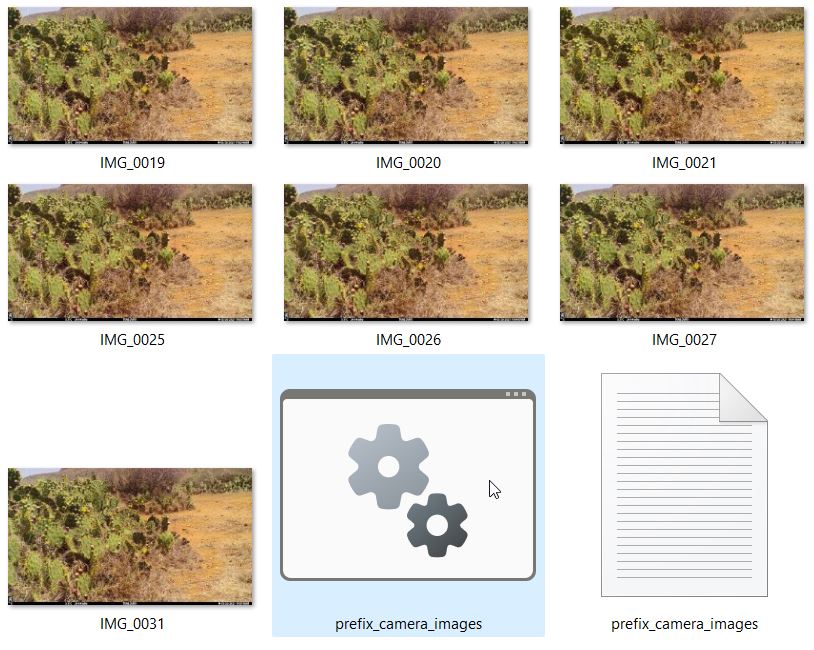
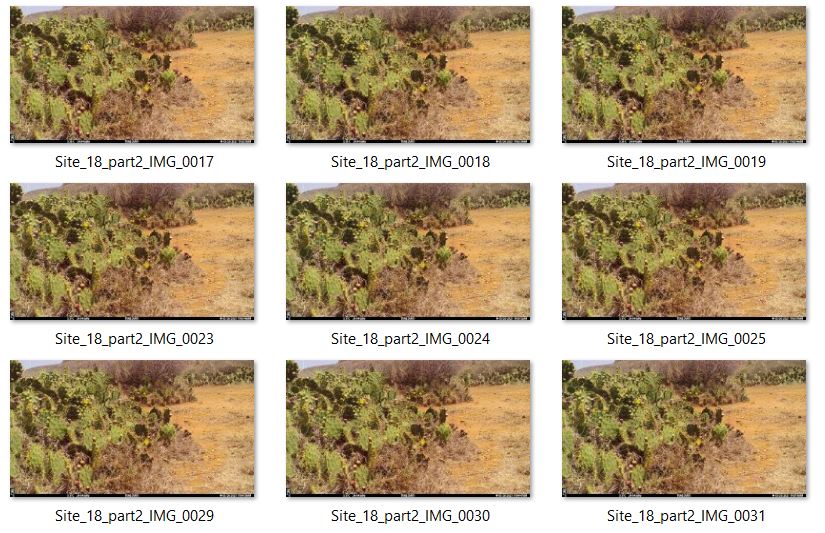
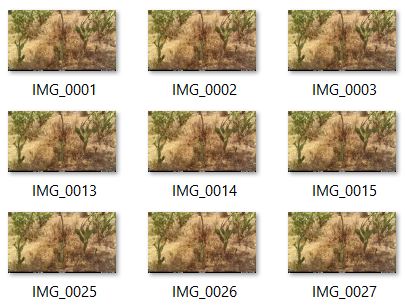
Double-click it, and all of your images will be renamed to include the prefix:
If you’ve got a large number of images this might take a few seconds - but it’s still MUCH faster than doing it manually!
After it’s done, it’s a good idea to delete the batch file as if you accidentally double-click it again, it’s going to add an unwanted second prefix to your images!
Adding the folder name as a common prefix - recursive version
If you’ve got camera trap images spread across a large number of folders (e.g., representing many sites) then prefixing them using the previous approach can be quite tedious, as you have to edit an run the batch file for each folder individually.
However, if the prefix you want to add is the same as the name of the folder that each image is in (e.g., you want to make every image in the folder Site_01_part1 look like Site_01_part1_IMG0001.jpg) there is a much easier method - we write a single batch file which goes through all of our folders, and adds the folder name as a prefix to every image file in each folder.
We can do this using the following batch file:
setlocal enabledelayedexpansion
FOR /F "tokens=* delims=" %%F in ('dir /s /b /a-d *.jpg') DO (
    set "DIRPATH=%%~dpF"
    set "FILEPATH=%%~F"
    set "FILENAME=%%~nxF"
    IF "!DIRPATH:~-1!" EQU "\" (
        SET "DIRPATH=!DIRPATH:~0,-1!"
    )

    FOR %%G IN ("!DIRPATH!") DO (
        set "PICDIR=%%~nxG"
        rename "!FILEPATH!" "!PICDIR!_!FILENAME!"
    )
)
Note that I’ve set this up so that it’ll only work on .jpg files (which all of my camera trap images are) - if you want it to work on another file type (e.g., .png images) you’ll need to alter the *.jpg bit on the second line.
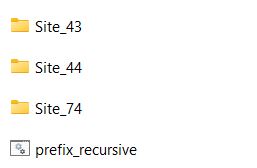
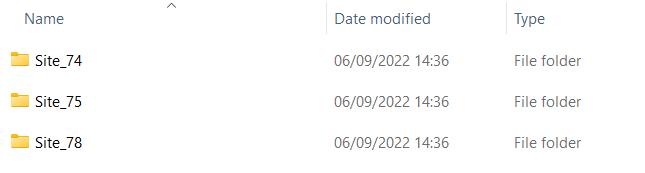
We save the batch file (see above for step-by-step instructions) in the same folder as all of the folders we want it to look through - in this example, we want it to look through Site_43, Site_44, and Site_74 as well as all of the subfolders within each (Site_43_part1, Site_43_part2 etc.).
Running the batch file will result in all of the camera trap images being renamed to add their respective prefix.
Removing a bracketed number
I recently encountered a situation in which images from different camera trap sites had been placed in the same folder - this resulted in many of the images being appended with a space followed by a bracketed number, for example:
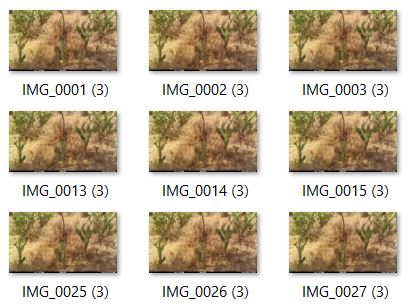
I wanted to get rid of the space and bracketed number, so that e.g. IMG_0001 (3).jpg would become IMG_0001.jpg
To do this, I used the following code:
setlocal enableDelayedExpansion
FOR /f "delims=" %%F IN ('DIR /a-d /b *.jpg') DO (
  set filename="%%~nxF"
  ren "%%F" "!filename: (3)=!"
)
If you want to remove a different suffix, change the bit on the fourth line between !filename: and =! - note that there is a space between !filename: and (3) in my example, because I wanted to remove the space before the bracketed number as well.
We run this in the same way as for the prefix batch file above - check that section of the post for the step-by-step instructions for creating and running the batch file.
Here is the result:
Copying a list of images
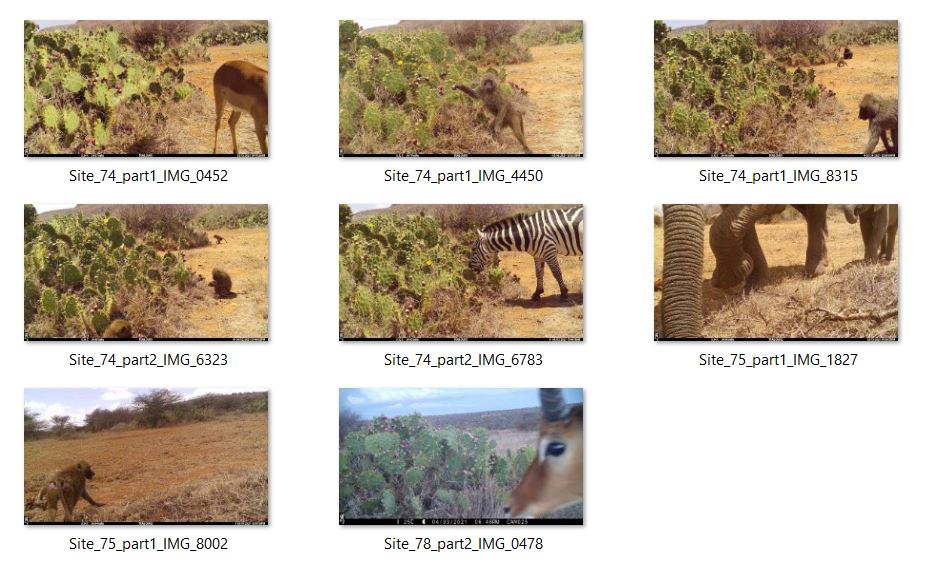
Another common situation is having to copy a large number of specific images and put them into a single folder - for instance, I might want to go through my whole camera trap catalogue and copy all of the images meeting some criterion (e.g., images containing striped hyenas) into one folder.
For example, here we have a folder called site_photos containing 2218 camera trap images from three sites:
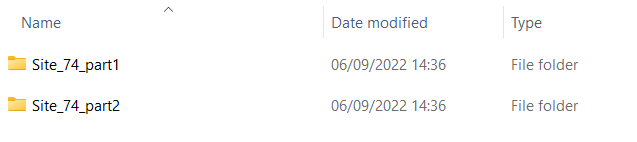
Within each site’s folder, we have subfolders ending in _part1, _part2, etc.:
The first thing we need is a .txt file containing a list of images that we want to copy. I’ve called mine image_list.txt. The list should look like this:
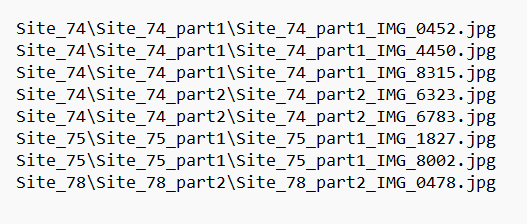
Notice that I’ve included the folder and subfolder in the file name - you’ll need to do this, or else the images won’t copy. There are a variety of ways of making a list like this - you could make it in R, or make it from a .csv by going to save as and selecting .txt in the drop-down list. You could even type it out manually if you only need to copy a few files.
We are now going to copy all of the files in this list into a folder called interesting_images. We can do this using the following batch file:
set src_folder=C:\temp\blog_post\site_photos
set dst_folder=C:\temp\blog_post\interesting_images
for /f "tokens=*" %%i in (image_list.txt) DO (
    xcopy /S/E "%src_folder%\%%i" "%dst_folder%"
)
Note that you have to specify the source folder (src_folder, which is site_photos) and destination folder (dst_folder, which is interesting_images) so that the files are copied from and to the correct places.
I saved this file as copy_list, and ran it in the same way as the other batch files above (see the adding a common prefix example for step-by-step instructions):
If we go to the interesting_images folder, we can see that all of the images in our list are there:
Copying one file to all subfolders
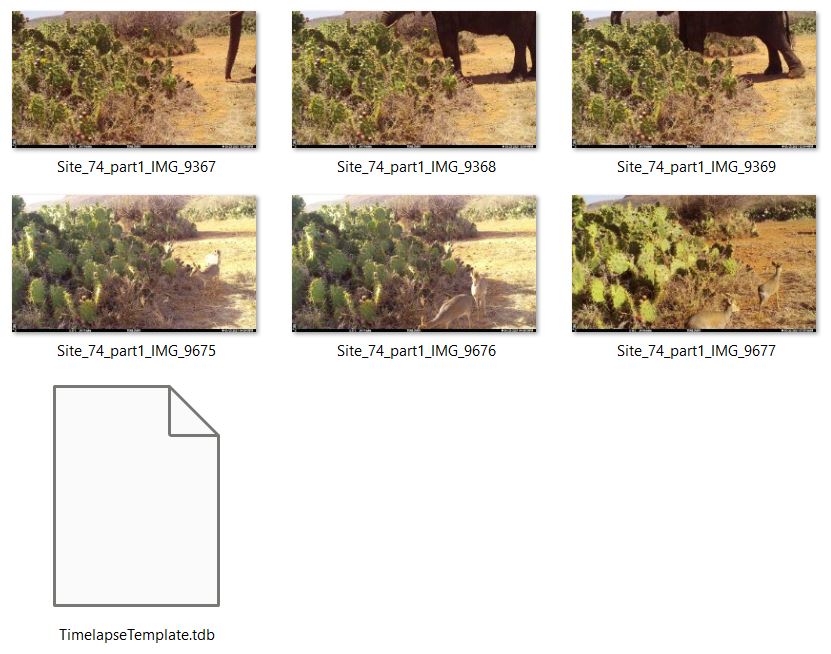
This one is useful for any Timelapse users out there - it’s a quick method for getting your Timelapse template file into all of your image subfolders so that you can load each of them into Timelapse separately.
As above, we have a folder called site_photos containing camera trap images from 3 sites, with each site split into parts like so:
In the top-level folder (which I’ve called copy_to_subfolders_batch_test for this example) we also have a file called TimelapseTemplate.tdb - this is the file that we want to copy to all the subfolders.
To do this, we can use the following batch file:
cd "C:\temp\copy_to_subfolders_batch_test\site_photos"
for /r /d %%I in (*) do xcopy "C:\temp\copy_to_subfolders_batch_test\TimelapseTemplate.tdb" "%%~fsI"
You’ll need to change the folder path and file name as appropriate, and then save and run the batch file as above (see the adding a common prefix example for step-by-step instructions).
When you look in the subfolders, you’ll see that the batch file is there:
Comments